Heres Some Camping Tips & Tricks at Your Fingertips
Our Knoxville Campground Blog is the information you need to make your next camping trip in Tennessee even more enjoyable. From RV and camping tips and tricks, to amazing campfire recipes, to advice on planning your next trip in Knoxville, TN... the information below is here to help you. And please, feel free to comment and share your experiences, knowledge and favorite recipes. At Knoxville Campground, we are a family and all here to help each other enjoy the great outdoors to the fullest!

🥑Avocado Toast
Here’s a simple and delicious avocado toast recipe! Perfect for an easy quick breakfast while camping!
Ingredients:
- 1 ripe avocado
- 2 slices of bread (sourdough, whole grain, or your choice)
- Salt and pepper, to taste
- Optional toppings:
- Red pepper flakes
- Cherry tomatoes (halved)
- Poached or fried egg
- Olive oil
- Lemon juice
- Feta cheese
- Everything bagel seasoning
- Fresh herbs (like cilantro or basil)
- Red pepper flakes
Instructions:
- Toast the Bread
Toast your bread slices until golden and crispy. - Mash the Avocado
Cut it in half, remove the pit, and scoop the flesh into a bowl. Mash with a fork to your preferred consistency (smooth or chunky). - Season It
Add a pinch of salt, a grind of black pepper, and a squeeze of lemon juice (optional, but helps keep it fresh and bright). - Assemble
Spread the mashed avocado evenly on the toast. - Add Toppings (optional)
Customize with your favorites! A poached egg and a sprinkle of red pepper flakes are popular options.
Try this breakfast recipe during your next stay at Knoxville Campground!
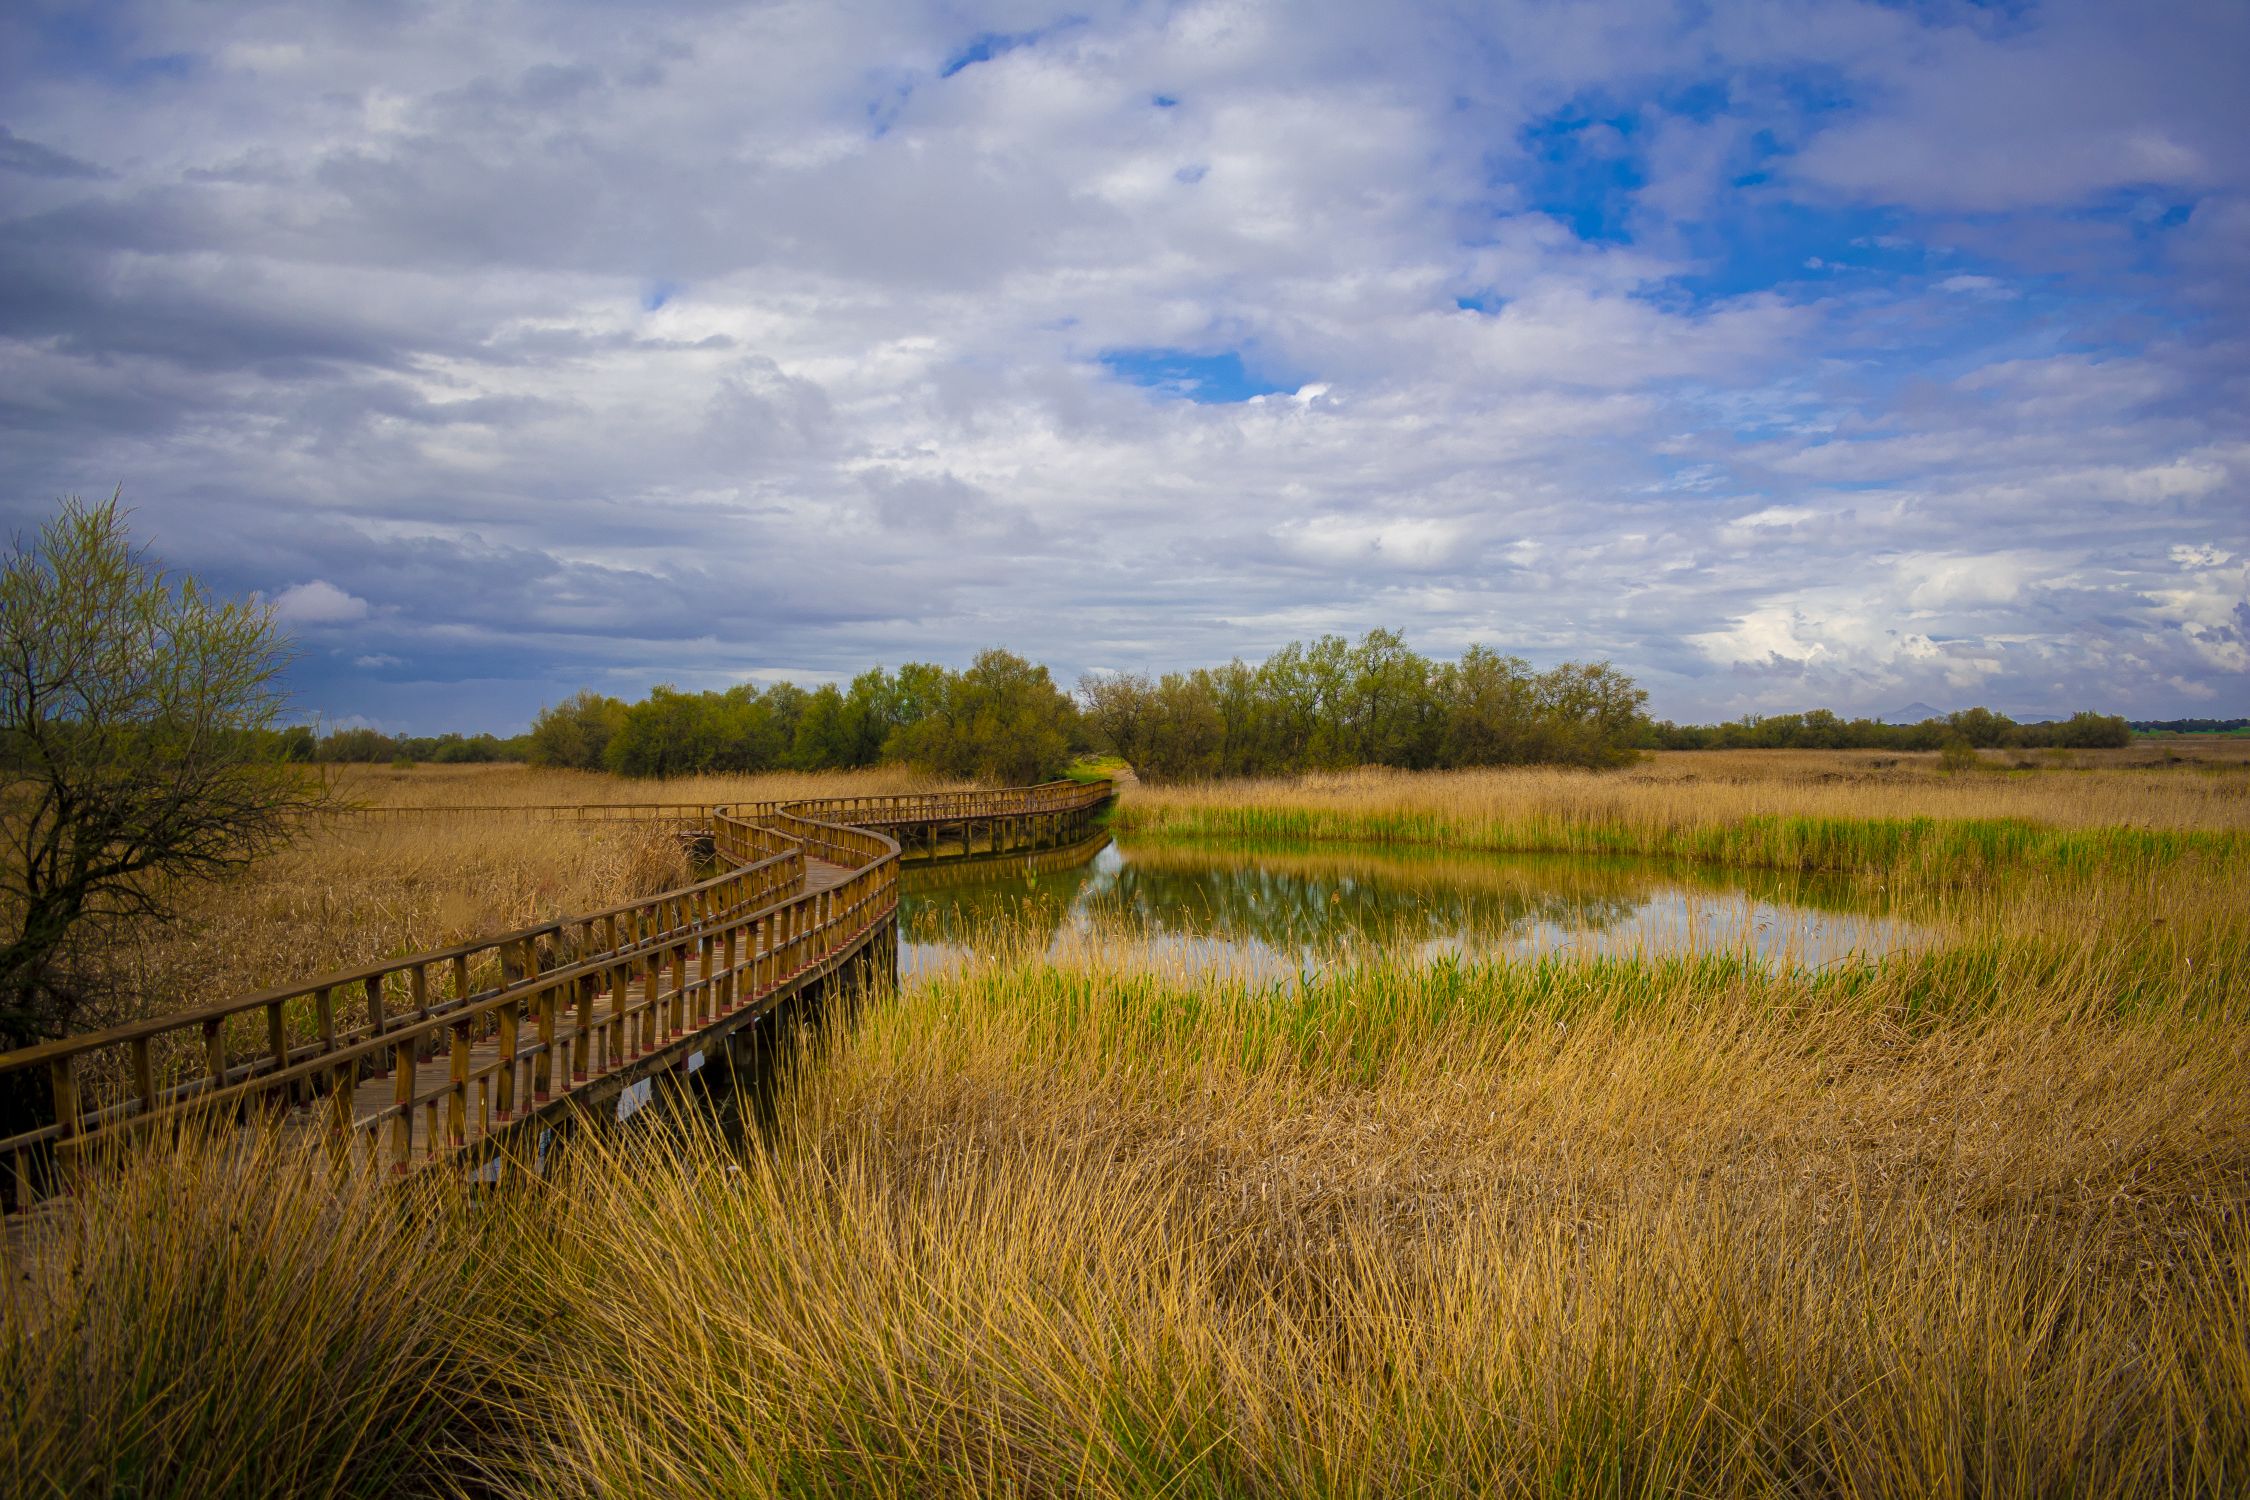
Best Things To Do While Staying At Knoxville Campground
Staying at Knoxville Campground offers a wealth of activities both on-site and in the surrounding area. Whether you’re seeking outdoor adventures, family-friendly attractions, or cultural experiences, there’s something for everyone. Here’s a curated list of top activities to enjoy during your stay:
🌳 Outdoor Adventures
- Norris Dam State Park: Located just north of Knoxville, this park offers hiking trails, fishing spots, and picnic areas. It’s also adjacent to Norris Lake, renowned for its clear waters and recreational opportunities like boating and swimming.
- Seven Islands State Birding Park: Approximately 18 miles east of Knoxville, this park is a haven for birdwatchers, boasting over 180 species. It also features 8 miles of hiking trails and access to the French Broad River for kayaking and fishing.
- Ijams Nature Center: A 315-acre nature preserve offering hiking, biking, and paddling opportunities. It’s a great spot for families and nature enthusiasts to explore diverse ecosystems.
🐾 Family-Friendly Attractions
- Little Ponderosa Zoo and Rescue: Located in Clinton, this zoo provides up-close experiences with a variety of animals, making it a hit with kids and adults alike.
- Creekside Stables: Also in Clinton, enjoy horseback riding adventures suitable for all skill levels.
- Stardust Marina: Situated on Norris Lake, this marina offers boat rentals, dining options, and live music events, perfect for a day on the water.
🎣 Unique Experiences
- Tennessee River Monsters Fishing Guide: Embark on a guided fishing trip targeting trophy catfish and other species on the Tennessee River.
- House Mountain State Natural Area: For hiking enthusiasts, this area offers challenging trails leading to panoramic views, rewarding your efforts with stunning scenery.
🎭 Cultural and Culinary Delights
- Market Square: The heart of downtown Knoxville, this vibrant area is filled with shops, restaurants, and hosts regular events and live music.
- Local Dining: Explore Knoxville’s culinary scene with notable spots like A Dopo for wood-fired pizzas, Potchke for Jewish delicacies, and Sticky Rice Cafe for Laotian cuisine. Bon Appétit
🏕️ On-Site Campground Activities
Knoxville Campground itself offers various amenities to enhance your stay, including:
- RV and Tent Sites
- Cabin Rentals
- Playgrounds and Recreational Areas
- Organized Events and Activities
Whether you’re seeking adventure, relaxation, or cultural experiences, Knoxville Campground serves as a perfect base to explore all that the region has to offer. Enjoy your stay!

🍋 Mini Lemon Bundt Cakes
Mini lemon Bundt cakes are the perfect sweet treat—bright, zesty, and super cute. Here’s a simple and delicious recipe to get you started!
Ingredients:
For the cakes:
- 1 ½ cups all-purpose flour
- 1 tsp baking powder
- ½ tsp baking soda
- ¼ tsp salt
- ½ cup unsalted butter, softened
- 1 cup granulated sugar
- 2 large eggs
- 1 tsp vanilla extract
- 2 tbsp lemon zest (about 2 lemons)
- 2 tbsp lemon juice
- ½ cup sour cream (or plain Greek yogurt)
- ¼ cup milk
For the lemon glaze:
- 1 cup powdered sugar
- 2–3 tbsp lemon juice
- Optional: extra zest for garnish
Instructions:
- Prep your oven: Preheat to 350°F (175°C). Grease a mini Bundt pan well (butter and flour or baking spray).
- Mix dry ingredients: In a bowl, whisk together flour, baking powder, baking soda, and salt.
- Cream butter and sugar: In a separate bowl, beat butter and sugar together until light and fluffy (2–3 minutes).
- Add wet ingredients: Beat in eggs one at a time, then add vanilla, lemon zest, and lemon juice.
- Combine: Mix in sour cream and milk until smooth. Gradually add in the dry ingredients until just combined—don’t overmix!
- Fill pans: Spoon the batter into the prepared mini Bundt pan, filling each cavity about ⅔ full.
- Bake: Bake for 18–22 minutes, or until a toothpick comes out clean.
- Cool: Let cool in the pan for 10 minutes, then turn out onto a wire rack to cool completely.
- Glaze it up: Mix powdered sugar and lemon juice until smooth. Drizzle over the cooled cakes. Sprinkle with zest if you’re feeling fancy.
Try bringing mini bundt cakes on your next camping trip to Knoxville Campground!

General Plants You Should Avoid When Hiking
Here’s a general list of common plants to steer clear of in most parts of the U.S.:
🌿 Common Plants to Avoid
- Poison Ivy
- “Leaves of three, let it be.”
- Causes itchy, blistering rashes.
- “Leaves of three, let it be.”
- Poison Oak
- Similar to poison ivy; found mostly in western and southeastern U.S.
- Also has leaves in clusters of three.
- Similar to poison ivy; found mostly in western and southeastern U.S.
- Poison Sumac
- Grows in wet, swampy areas; has 7–13 leaflets per stem.
- Even more toxic than ivy or oak.
- Grows in wet, swampy areas; has 7–13 leaflets per stem.
- Stinging Nettle
- Covered in tiny, hair-like spines that sting on contact.
- Causes a burning, itching sensation.
- Covered in tiny, hair-like spines that sting on contact.
- Giant Hogweed
- Sap can cause severe burns when exposed to sunlight.
- Has huge leaves and umbrella-shaped white flowers.
- Sap can cause severe burns when exposed to sunlight.
- Wild Parsnip
- Like hogweed, its sap can cause burns.
- Yellow flowers, tall stalk.
- Like hogweed, its sap can cause burns.
- Deadly Nightshade (Belladonna)
- Pretty but poisonous berries.
- Causes hallucinations, seizures, or worse if ingested.
- Pretty but poisonous berries.
- Water Hemlock
- Highly toxic; even a small amount can be deadly.
- Looks similar to wild carrot or Queen Anne’s lace.
- Highly toxic; even a small amount can be deadly.
If you’ve got pets or little ones with you, it’s even more important to be aware of these. Be careful when you’re out hiking around the campground! Watch out for these when you stay at Knoxville Campground!

Campfire Shepherd’s Pie
Campfire Shepherd’s Pie is a hearty and delicious meal that’s perfect for cooking over a fire. Here’s a simple recipe you can make in a cast-iron skillet or foil packet while camping.
Ingredients:
- 1 lb ground beef (or ground turkey)
- 1 small onion, diced
- 2 cloves garlic, minced
- 1 cup frozen mixed vegetables (peas, carrots, corn)
- 1 can (10.5 oz) cream of mushroom soup (or beef gravy)
- 1/2 teaspoon salt
- 1/2 teaspoon black pepper
- 1/2 teaspoon smoked paprika (optional)
- 2 cups mashed potatoes (instant or prepared ahead of time)
- 1/2 cup shredded cheddar cheese (optional)
Instructions:
- Prepare the Fire – Get your campfire going and let it burn down to hot coals for even cooking.
- Cook the Meat – In a cast-iron skillet over the fire (or on a camp stove), cook the ground beef with diced onion and garlic until browned. Drain excess grease if needed.
- Add Veggies & Sauce – Stir in the frozen mixed vegetables and the cream of mushroom soup (or beef gravy). Mix well and season with salt, pepper, and paprika. Let it simmer for 5 minutes.
- Top with Mashed Potatoes – Spread the mashed potatoes evenly over the meat mixture.
- Add Cheese (Optional) – Sprinkle shredded cheddar on top for extra flavor.
- Cook Over the Fire – Cover with foil and let it cook for 10-15 minutes, until heated through and the cheese is melted.
- Serve & Enjoy!
Foil Pack Variation:
- Instead of a skillet, you can layer the ingredients in heavy-duty foil packets. Wrap tightly and cook on campfire coals for about 15 minutes, flipping halfway.
Try this delicious and easy recipe next time you stay at Knoxville Campground!
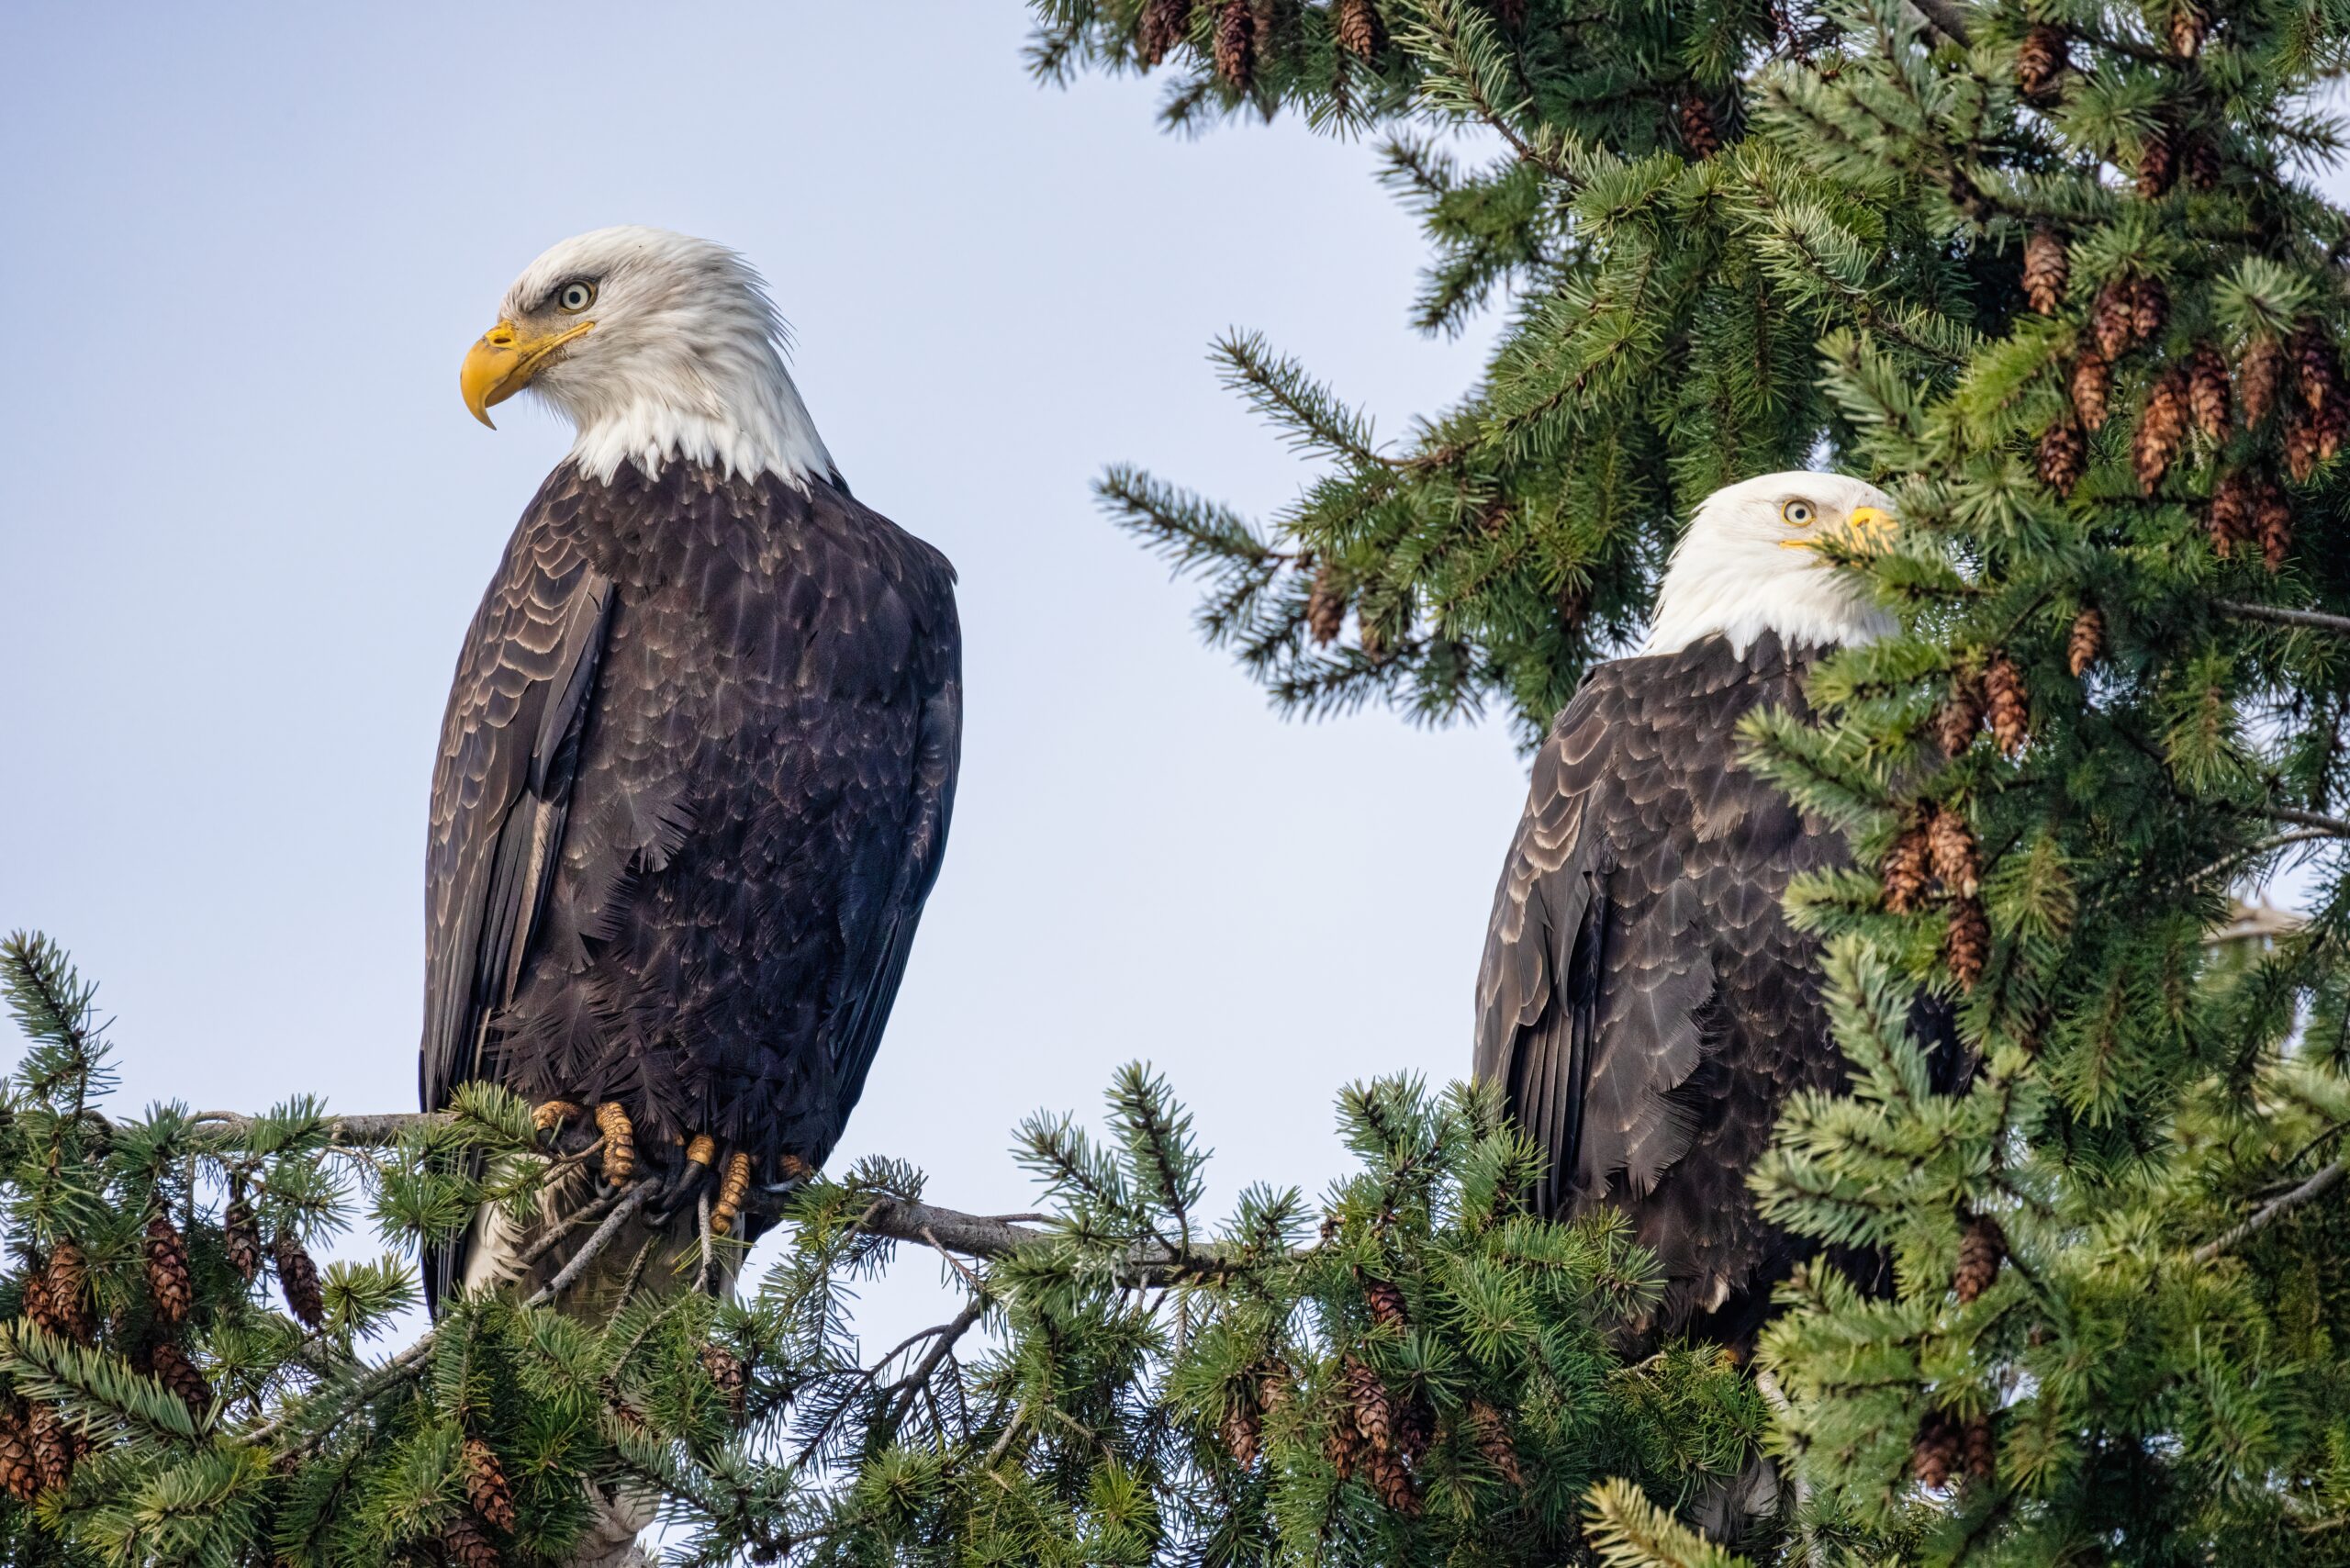
Animals to Watch Out for During the Winter Season
During the winter season at Knoxville Campground in Sullivan, Tennessee, you might encounter the following animals:
Mammals
- White-tailed Deer – Active year-round, often foraging for food in open areas.
- Coyotes – More visible in winter as they scavenge for food.
- Red and Gray Foxes – Known to be more active at dawn and dusk.
- Raccoons – May be seen scavenging near campsites.
- Bobcats – Elusive but more noticeable in winter due to their tracks in the snow.
- Black Bears – Generally less active but may emerge from dens on warmer winter days.
Birds
- Bald Eagles – Often seen near water bodies, hunting for fish.
- Red-tailed Hawks – Frequently spotted soaring over open fields.
- Great Horned Owls – Active during the night and often heard hooting.
- Dark-eyed Juncos – Small winter birds that flock near wooded areas.
- Northern Cardinals – Their bright red feathers stand out in winter landscapes.
Reptiles & Amphibians
- Most reptiles, such as snakes and turtles, will be inactive or in brumation (a hibernation-like state).
Things to Watch Out For:
- Slippery Trails & Wildlife Tracks – Be cautious of icy paths and follow animal tracks with awareness.
- Aggressive Wildlife – Coyotes and bobcats can be more daring in winter due to food scarcity.
- Nocturnal Predators – Owls and foxes are more active at night, so use caution when walking after dark.
Winter Wildlife Safety Tips
- Keep Your Distance – Never approach or feed wildlife.
- Predators – Make noise to deter coyotes, bobcats, and bears.
- Stay Safe – Watch for tracks and be cautious on icy trails.
- Campsite Safety – Store food properly to avoid attracting animals.
- Dress Warm – Wear layers and bright colors for visibility.
- Travel in Groups – Avoid solo hikes and make noise.
Watch out for these animals during the winter season at Knoxville Campground!

Trail Mix Energy Balls
Here’s a simple Trail Mix Energy Balls recipe—perfect for a quick snack, hiking fuel, or a lunchbox treat!
Ingredients:
- 1 cup rolled oats
- ½ cup peanut butter (or almond butter)
- ⅓ cup honey (or maple syrup)
- ½ cup mixed nuts (almonds, walnuts, cashews, etc.), chopped
- ½ cup dried fruit (raisins, cranberries, chopped apricots, etc.)
- ¼ cup mini chocolate chips (or cacao nibs)
- 1 tablespoon chia seeds or flaxseeds (optional for extra nutrition)
- ½ teaspoon cinnamon (optional)
- ½ teaspoon vanilla extract
Instructions:
- Mix Ingredients: In a large bowl, combine all the ingredients and mix well until everything is evenly coated.
- Chill the Mixture: Place the bowl in the refrigerator for about 20-30 minutes to make the mixture easier to handle.
- Form Balls: Once chilled, use your hands or a small scoop to roll the mixture into bite-sized balls.
- Store & Enjoy: Keep them in an airtight container in the fridge for up to a week or freeze for longer storage.
Tips:
- Swap peanut butter for sunflower seed butter to make them nut-free.
- Add coconut flakes or protein powder for extra flavor and energy.
- If the mixture is too dry, add a little more nut butter or honey.
Try bringing these to stay energized for your next hike at Knoxville Campground!

Romantic Things To Do While Camping During Valentine’s Day!
Here are some romantic winter camping getaway ideas, including activities and cozy extras to make your trip unforgettable.
🔥 Extra Cozy Accommodations
- Glamping in a Heated Tent or Dome – Stay in a luxury tent or a transparent dome to watch the snowfall while staying warm.
- Cabin with a Fireplace – Rent a rustic cabin with a wood-burning fireplace for the ultimate cozy retreat.
- RV Winter Escape – Travel in a heated RV to scenic winter destinations.
❄️ Outdoor Winter Adventures for Couples
- Snowshoeing Together – Explore snowy trails while holding hands.
- Dog Sledding – Take a romantic ride through the snow-covered forest.
- Skiing or Snowboarding – Hit the slopes together and warm up afterward with hot cocoa.
- Horse-Drawn Sleigh Ride – Snuggle up under a warm blanket while riding through a winter wonderland.
- Ice Skating on a Frozen Lake – Skate hand-in-hand under twinkling lights.
- Winter Hiking to a Frozen Waterfall – Find a secluded, icy waterfall for a picture-perfect moment.
- Building a Snow Couple – Have fun building snow figures and decorating them with scarves and hats.
🔥 Warm & Romantic Activities
- Campfire Date Night – Toast marshmallows, sip warm drinks, and enjoy deep conversations.
- Winter Picnic with a Heated Blanket – Pack warm soup, bread, and a thermos of hot chocolate.
- Stargazing & Wishing on Shooting Stars – Bring a telescope or lay on a cozy blanket together.
- Reading Love Letters by Candlelight – Surprise your partner with a heartfelt note.
- DIY Couples Spa Night – Use hot towels, essential oils, and massage each other by the fire.
- Cooking a Romantic Meal Together – Make a cozy dish like fondue or gourmet campfire stew.
- Telling Love Stories & Sharing Dreams – Reflect on your relationship and plan future adventures.
🍷 Warm & Cozy Drinks to Try
- Mulled Wine – Red wine infused with cinnamon, cloves, and citrus.
- Spiked Apple Cider – Warm apple cider with a touch of rum or bourbon.
- Peppermint Hot Chocolate – A festive twist on a classic winter favorite.
- Irish Coffee – Coffee with whiskey and whipped cream for extra warmth.
Try any of these romantic winter activities this Valentine’s Day at Knoxville Campground!
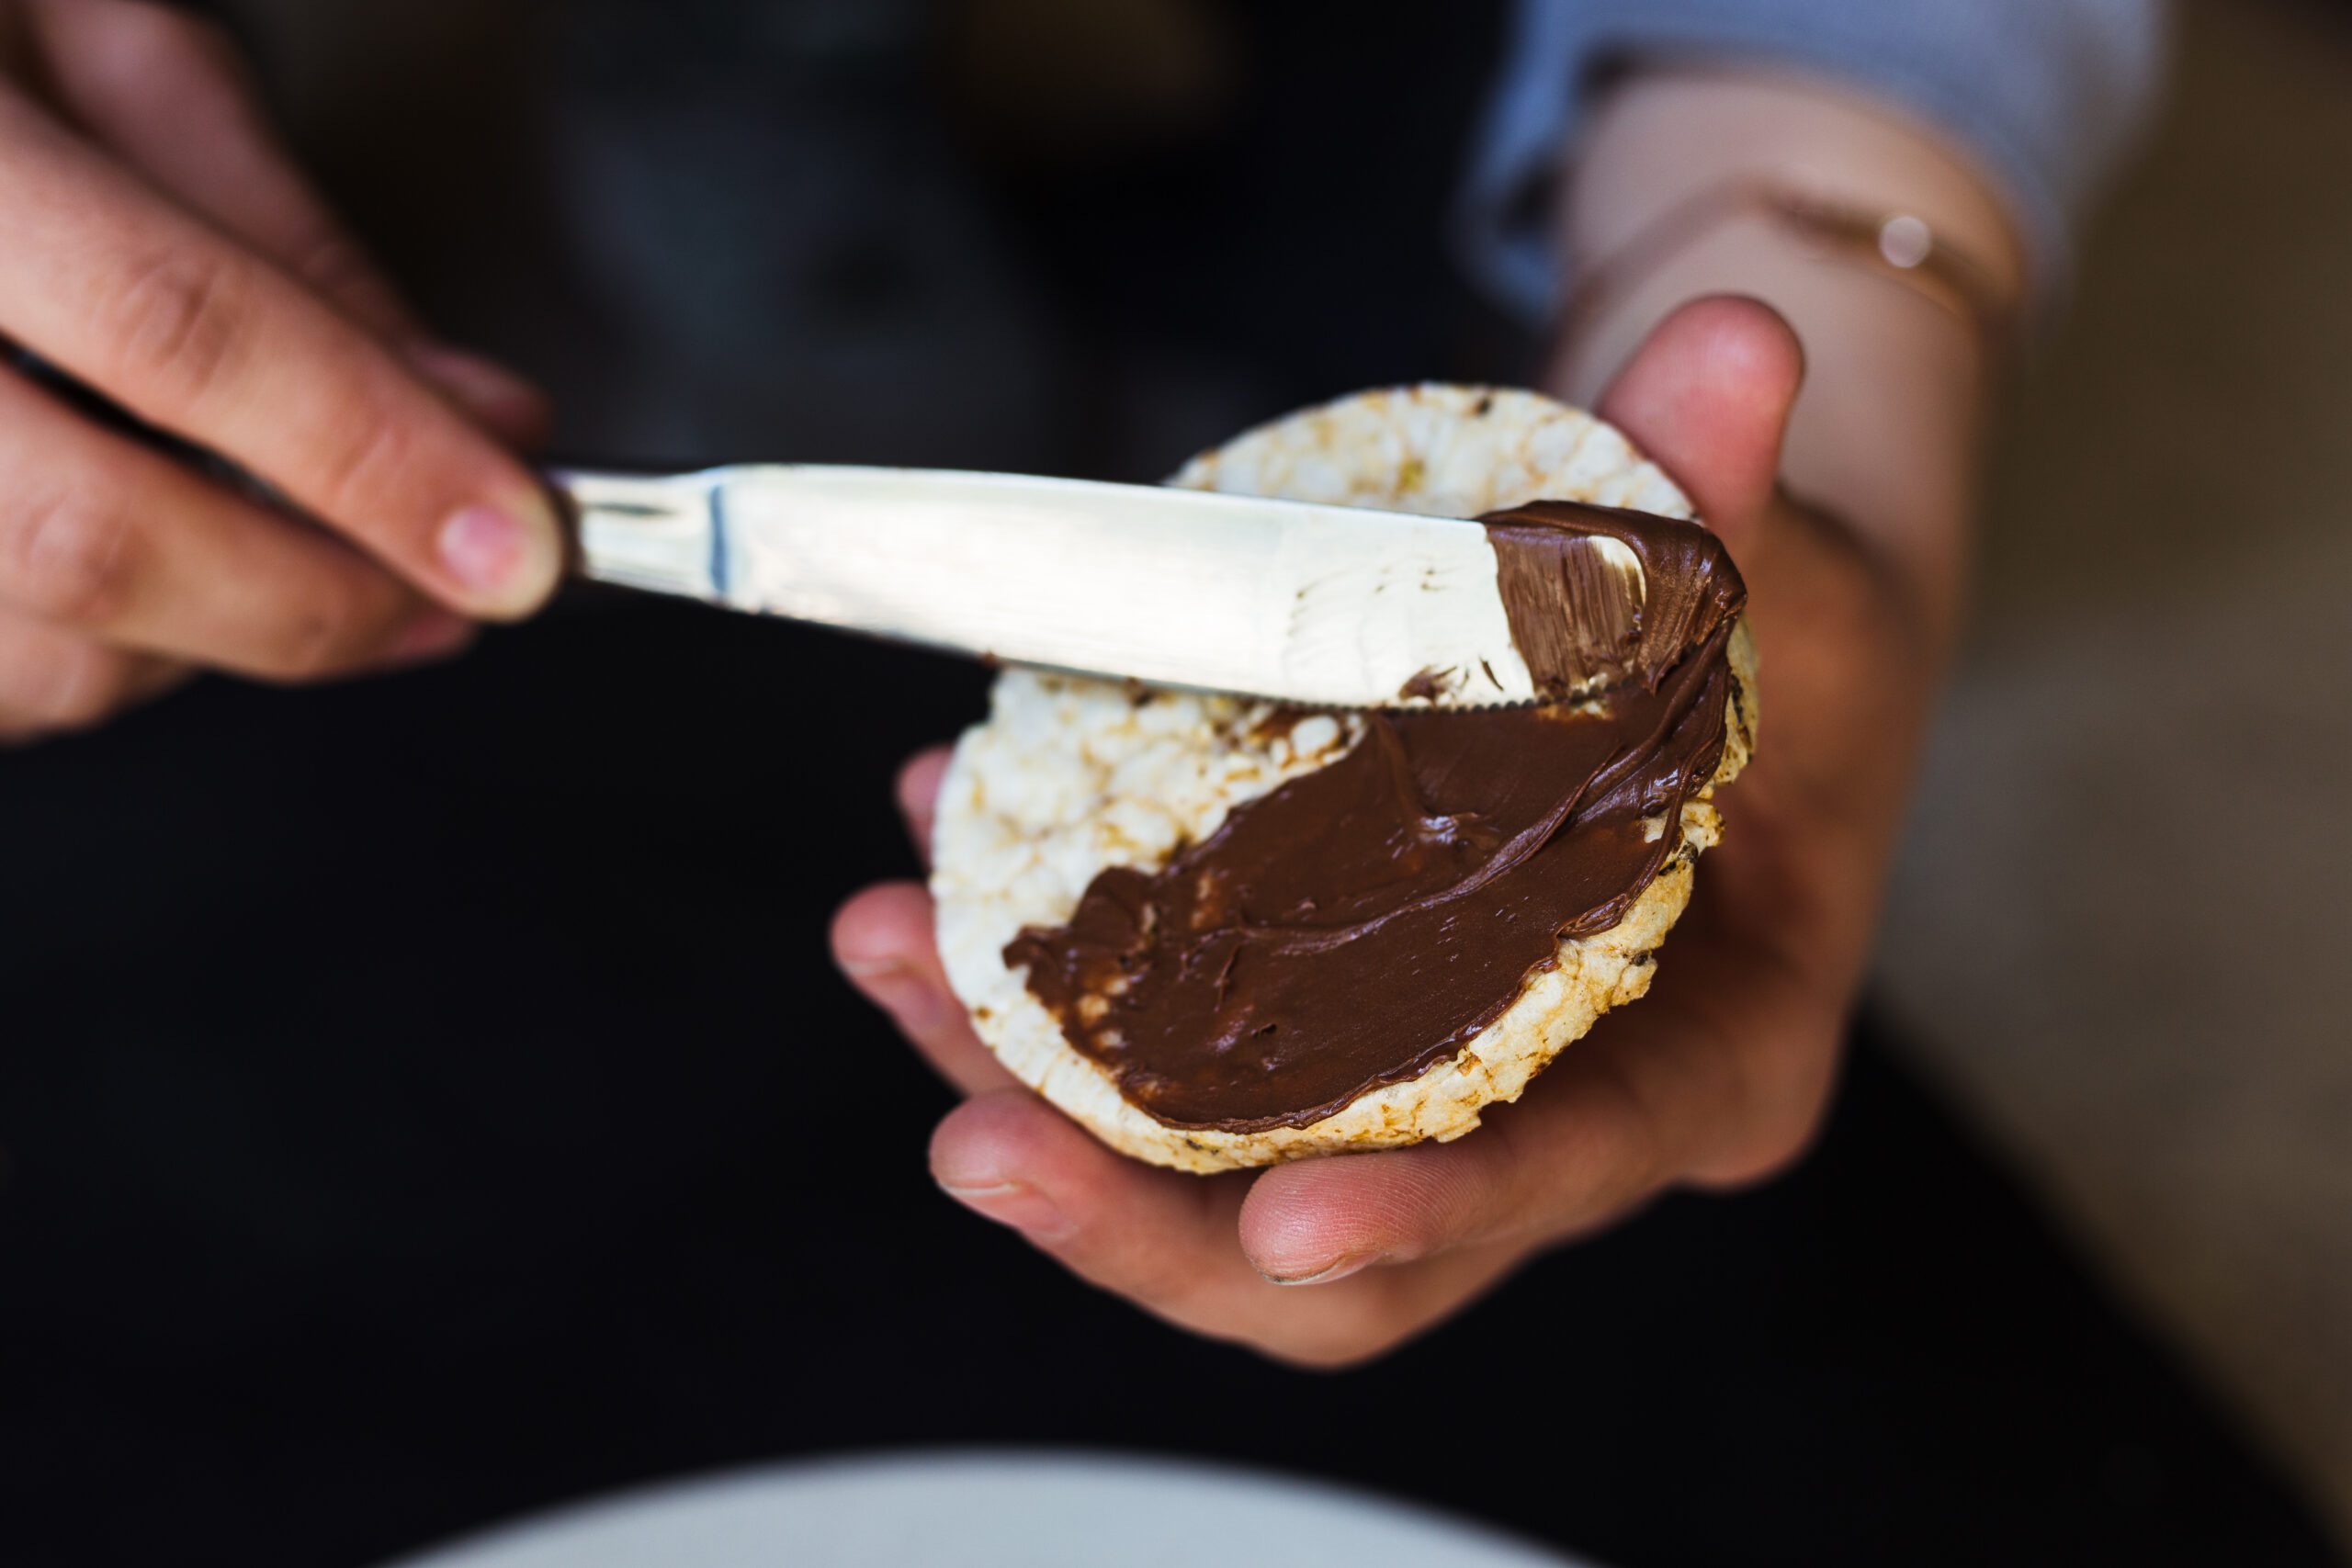
S’mores Sushi Rolls
These little s’mores treats are the perfect grab-and-go dessert! Easy to make and with only a few ingredients, try this for your next fireside treat!
Ingredients
For the “Rice”:
- 3 cups mini marshmallows
- 2 tbsp unsalted butter
- 4 cups crispy rice cereal
For the Filling:
- Chocolate bars or chocolate chips
- Mini marshmallows (or marshmallow fluff)
- Crushed graham crackers
For Assembly and Topping:
- Melted chocolate (optional, for drizzling)
- Graham cracker crumbs (for garnish)
Instructions
1. Make the “Rice” Base:
- In a large microwave-safe bowl, melt the butter (about 30 seconds).
- Add the mini marshmallows to the butter and microwave in 30-second intervals, stirring until fully melted and smooth.
- Stir in the crispy rice cereal until evenly coated.
2. Shape the “Rice” Base:
- Place a large sheet of parchment paper or plastic wrap on a flat surface.
- Spread the rice mixture evenly onto the parchment to form a rectangular layer, about ¼ inch thick. Use a rolling pin or your hands (lightly greased) for evenness.
3. Add the Filling:
- Lay pieces of chocolate and sprinkle crushed graham crackers across the middle of the rectangle.
- Add a line of mini marshmallows (or marshmallow fluff) over the chocolate.
4. Roll It Up:
- Starting from one of the long sides, use the parchment paper to gently roll the rectangle into a tight log. Press firmly as you roll to seal the layers together.
- Wrap the log in the parchment paper and refrigerate for 20-30 minutes to set.
5. Slice and Serve:
- Unwrap the chilled roll and cut it into 1-inch slices using a sharp knife.
- Drizzle with melted chocolate and sprinkle graham cracker crumbs over the top for a finishing touch.
Tips:
- Use a serrated knife to avoid squishing the rolls while cutting.
- Get creative! Add peanut butter or caramel to the filling for extra flavor.
- Use a campfire for melting purposes to make at the campground instead!
Enjoy your S’mores Sushi Rolls—perfect for a sweet treat at Knoxville Campground! 🍫🍣
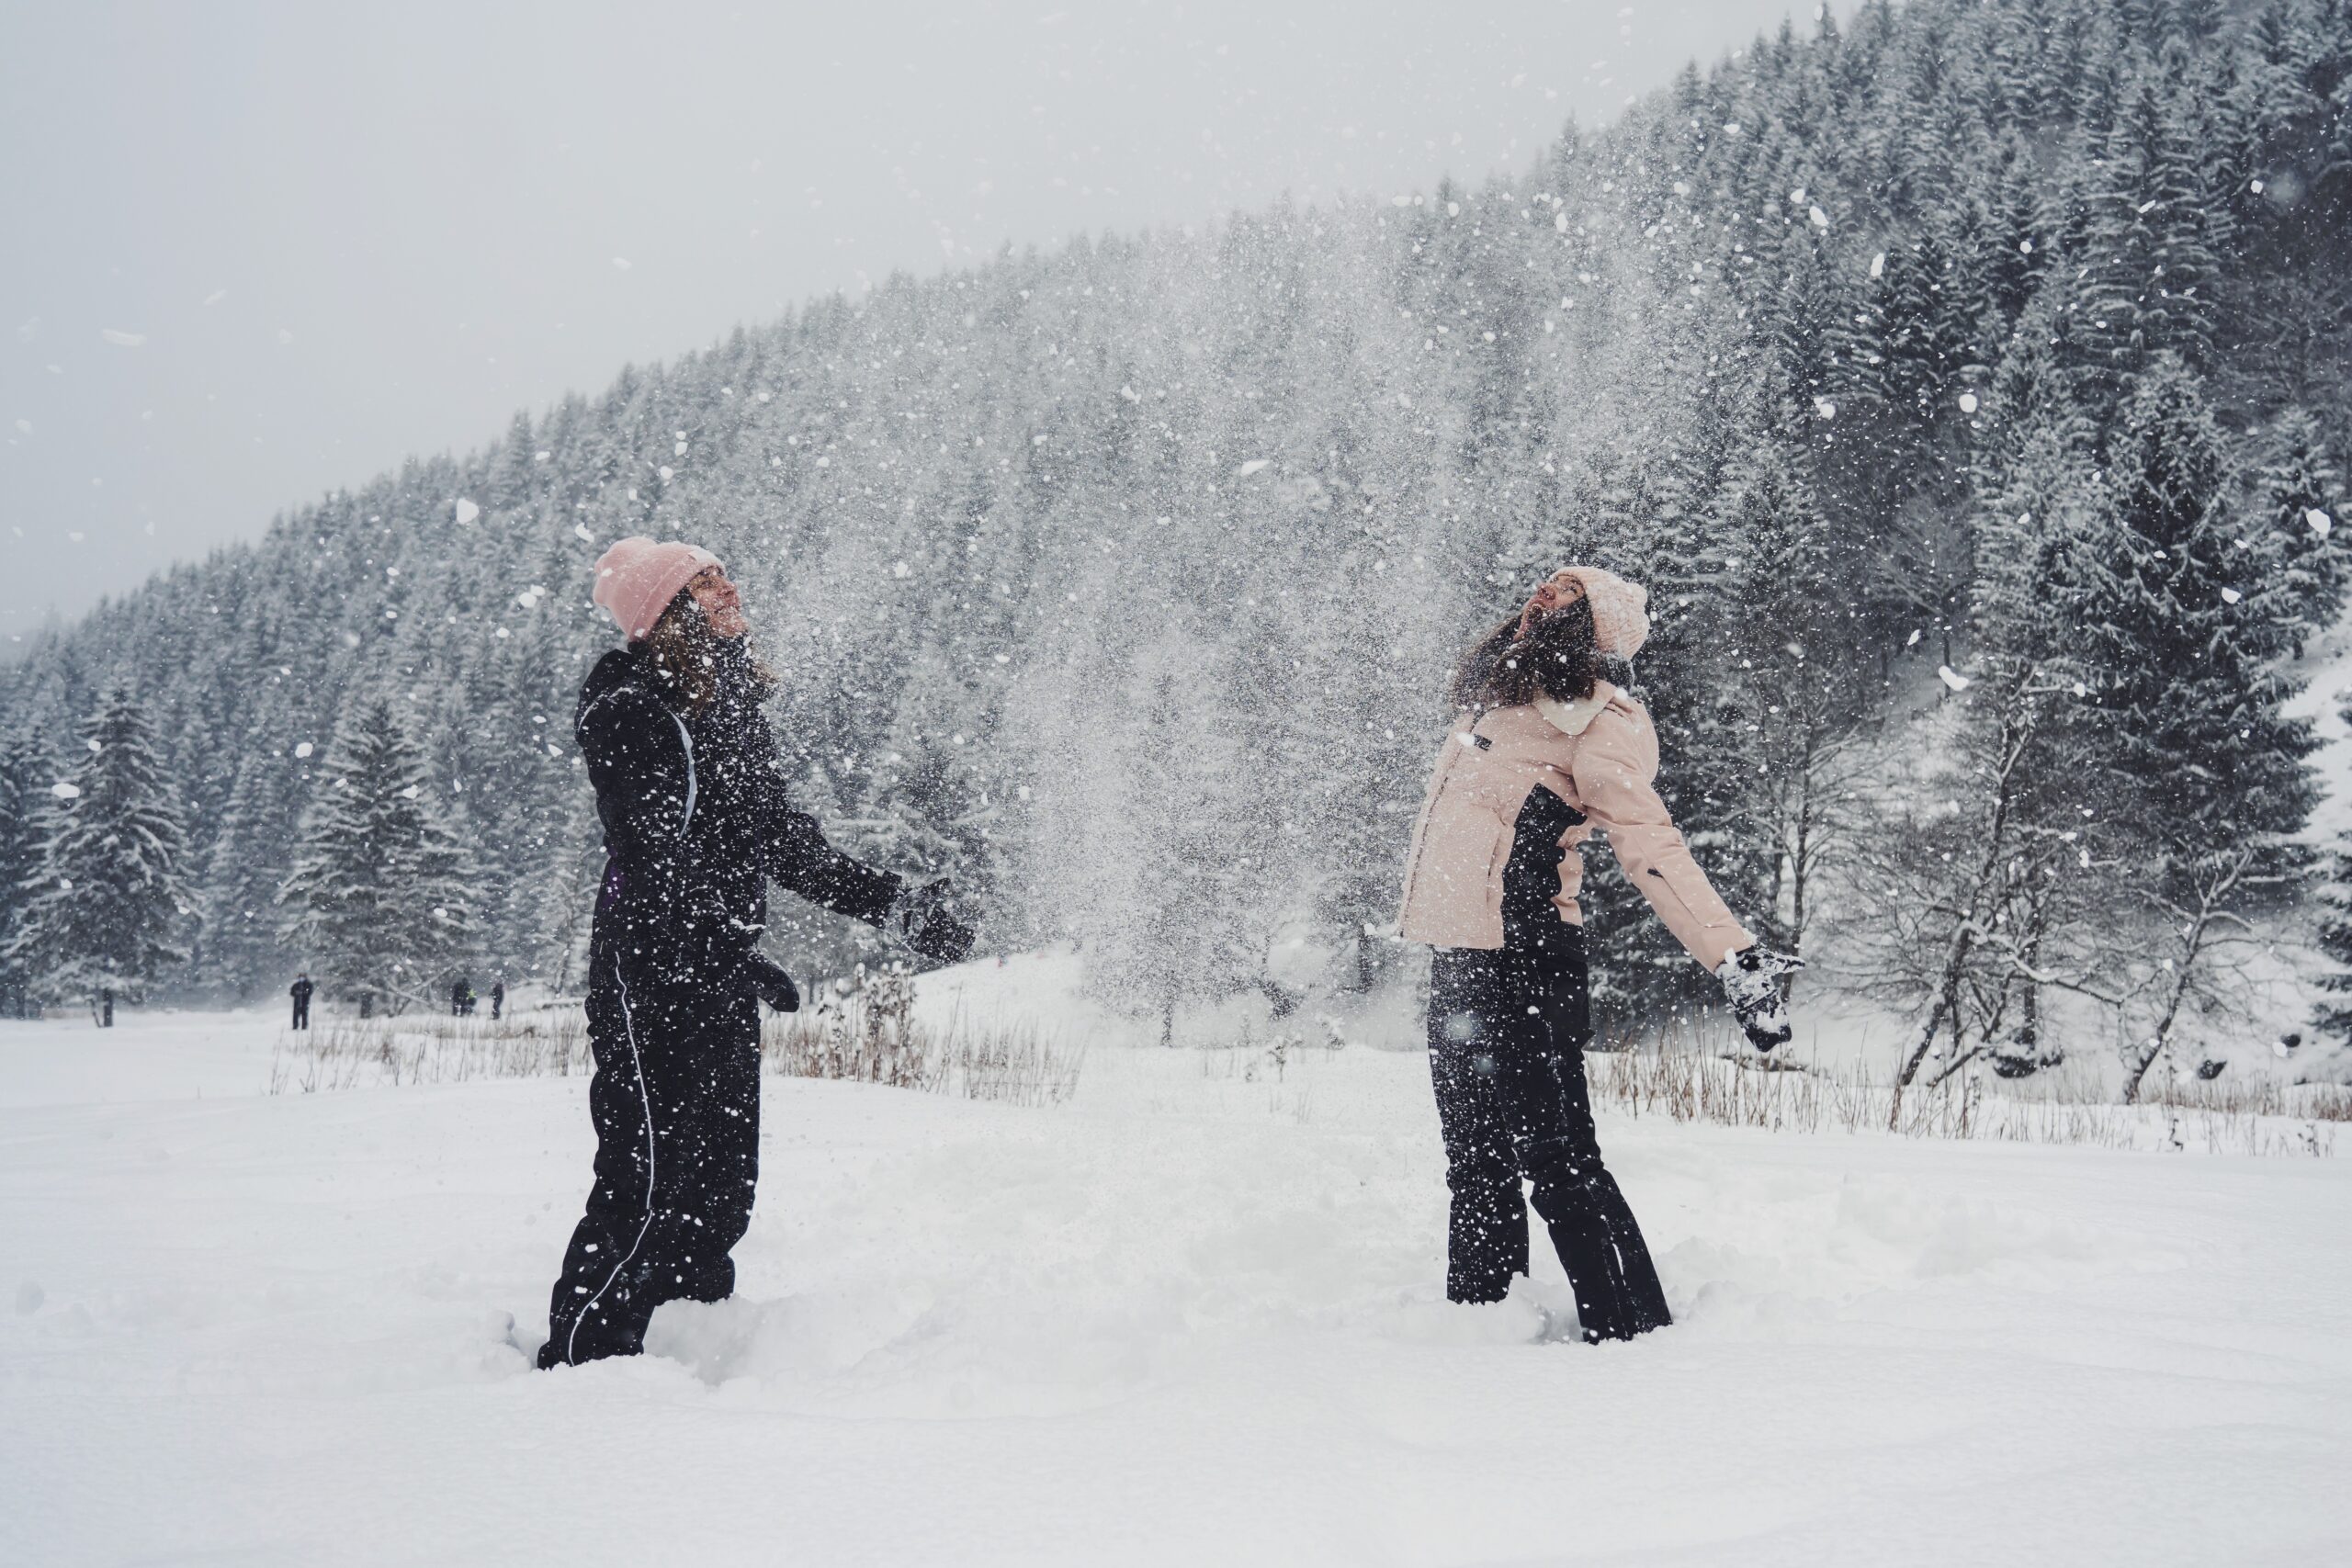
Things you can do in the snow while camping!
Camping in the winter can be a magical experience, offering unique opportunities for adventure and fun. Here are some activities to enjoy while camping in the snow:
1. Build a Snow Shelter
- Try constructing a quinzee (snow cave) or an igloo.
- It’s not just practical for survival skills but also a fun group activity.
2. Snowshoeing
- Explore winter trails with snowshoes to experience nature in winter.
- Bonus: It’s a great workout!
3. Sledding
- Bring a sled or use improvised gear (like a tarp) to slide down nearby hills.
4. Winter Hiking
- Bundle up and hit the trails. Snow-covered landscapes are breathtaking, and you’ll often have them all to yourself.
5. Stargazing
- Winter skies are clearer, making it an ideal time for stargazing. Bring a telescope or just enjoy the stars by the campfire.
6. Ice Fishing
- If you’re near a frozen lake, try your hand at ice fishing. Ensure the ice is thick enough and bring proper gear.
7. Animal Tracking
- Look for animal tracks in the snow and try to identify them. It’s a fun way to learn about wildlife in the area.
8. Snow Art and Sculptures
- Get creative by building snow sculptures, snowmen, or even snow angels.
9. Snowball Fights and Games
- Classic snowball fights, target practice, or other snow-based games can bring lots of laughs.
10. Campfire Cooking
- Try winter-friendly recipes like hot cocoa, soups, or foil-packet meals. The warmth of a campfire is especially cozy in the winter.
11. Cross-Country Skiing
- If you’re in an area with flat or rolling terrain, cross-country skiing is a serene way to explore.
12. Winter Photography
- Capture the beauty of white-dusted trees, frost patterns, and your winter adventures.
13. Warm-Up Challenges
- Create fun challenges to keep warm, like jumping jacks, running in place, or a group dance-off.
14. Make Maple Syrup Snow Candy
- Pour hot maple syrup over clean snow to make a chewy treat—simple and fun!
15. Meditation and Mindfulness
- Embrace the quiet stillness of the white wilderness for some peaceful reflection or meditation.
Safety Tips for Winter Camping Activities:
- Wear appropriate clothing in layers to stay warm and dry.
- Stay hydrated and fueled with warm drinks and high-energy foods.
- Always let someone know your location and plans.
- Check the weather forecast and be aware of avalanche risks if in mountainous areas.
Try these activities next time you stay at Knoxville Campground during the winter!
Family owned and operated, Kiefer Campgrounds strive to offer you the best rates for a comfortable location with outstanding service, and spotless facilities. When you stay in one of our parks, you are no longer just a happy camper, but a part of our family! We are most certain you will enjoy your stay with us. Pick your favorite location and book your spot now before it’s too late! You’ll be happy you did!


